Arcade
Puzzles
Shooting
Hypercasual
Racing
Girls
Clicker
Adventure
Boys
Action
Sports
Soccer
Fighting
Multiplayer
Cooking
Bejeweled
2 Player
.IO
3D
New Release
56
Pocolaco
hyper-casual
45
Life Circle
action
35
Escape from Hoverheath
escape
26
Hard Room Cube
casual
35
Kungfu Football
soccer
44
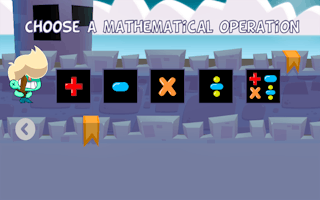
Math Hero Quest
math
38
Cool Dino Jump Math
math
34
Find The 6 Difference
brain
35
Dungeon Quest
platformer
39
Hustle Kid Adventures
junior
30
Knife And Jems
match-3
35
Merge the Cats
cats
33
Magic Rabbit
memory
38
Heaven or Hell?! The choice is yours!
casual
37
Candy Quest
platformer
42
Goal Finger Mania
soccer
29
Agent & Thief Challenge
casual
30
Flower Fun Challenge
match-3
39
Dinosaur Evolution
dinosaur
30
Musical Instruments
music
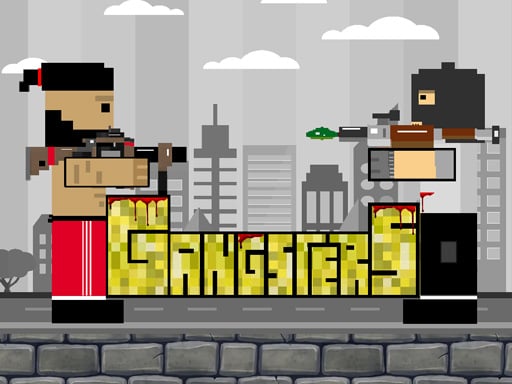
Gangsters
Gangsters
Arcade
Play Now
←
96
Gangsters
Arcade
29
Among Us Christmas Run
Arcade
33
Among Us Online Edition
Arcade
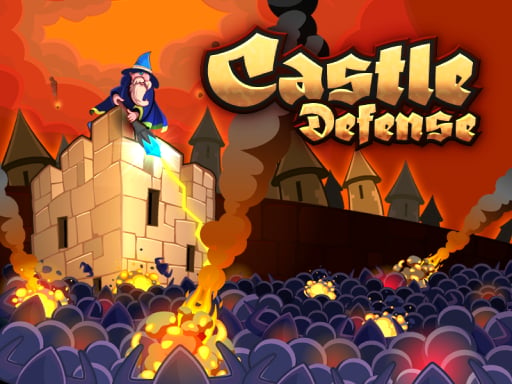
68
Castle Defense
Bejeweled
62
Temple Run 2
Action
268
Fire Balls
Action
→
New Release
→
←
56
Pocolaco
hyper-casual
45
Life Circle
action
35
Escape from Hoverheath
escape
26
Hard Room Cube
casual
35
Kungfu Football
soccer
44
Math Hero Quest
math
38
Cool Dino Jump Math
math
34
Find The 6 Difference
brain
35
Dungeon Quest
platformer
39
Hustle Kid Adventures
junior
→
Popular Games
→
←
56
Pocolaco
hyper-casual
45
Life Circle
action
35
Escape from Hoverheath
escape
26
Hard Room Cube
casual
35
Kungfu Football
soccer
44
Math Hero Quest
math
38
Cool Dino Jump Math
math
34
Find The 6 Difference
brain
35
Dungeon Quest
platformer
39
Hustle Kid Adventures
junior
→
Adventure
→
←
105
The Last Shot
Shooting
122
Special Forces War Zombie Attack
Shooting
98
Super Tank Hero
Shooting
102
F16 War
Shooting
115
Smash Fruits
Shooting
151
Space Survivor Shooting
Shooting
103
Gun Up Weapon Shooter
Shooting
99
Help The Bird
Shooting
111
Digit Shooter 1
Shooting
94
GTA Car Rush
Shooting
→
About Us
Terms and Conditions
Privacy Policy
Disclaimer
Contact Us
© 24ips.com all rights reserved 2025